Tips to Install Android Studio Project
The Android Studio Project is application development software. Android application designers utilize this product to create android games and applications.
They distribute their applications on the Google Play Store to get money through these applications. Android studio depends on Java programming language.
Later forms have included Kotin’s programming language moreover. This java-based innovation has urged contenders to create amazing games and applications.
This guide will help the fledgling software engineers download android studio programming software to build up their first android application.
Let us direct you to introduce Android Studio on your desktops.
Prerequisite
- Android Studio is heavy software. Therefore, it needs more than 1GB of space to install your computer.
- Your computer must have at least 4GB of RAM to run the software. 8GB RAM is highly recommended for this purpose.
- Microsoft Windows 7/8/10 (32-bit or 64-bit).
- 2 GB space, 4 GB recommended (500 MB for IDE plus 1.5 GB for Android SDK and emulator system image).
- 1280 x 800 min screen resolution.
Get Started with Android Studio
Android Studio is based on Google’s IDE that depends on IntelliJ IDEA, offering incredible code and developer tools. Android Studio 3.2.1 incorporates the following features:
- Gradle-based build system.
- A fast emulator on which the app runs.
- An environment that supports almost all Android devices.
- Extensive testing tools.
- Lint tools to help you catch version compatibility, performance, usability, and other problems.
- C++ and NDK support.
- Built-in support for Google Cloud Platform, integration of Google Cloud Messaging and Google App Engine.
- Android Studio plugins.
Guide to Install Android Studio
- Launch your favourite browser and visit the official website of Android Studio.
- Click on the Latest Version button to download the software.
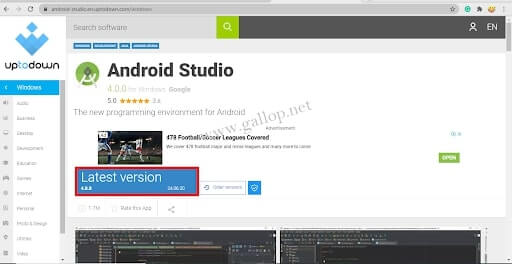
- After downloading, open the .exe file and run the setup.
- When you run the installer, the following screen will appear.
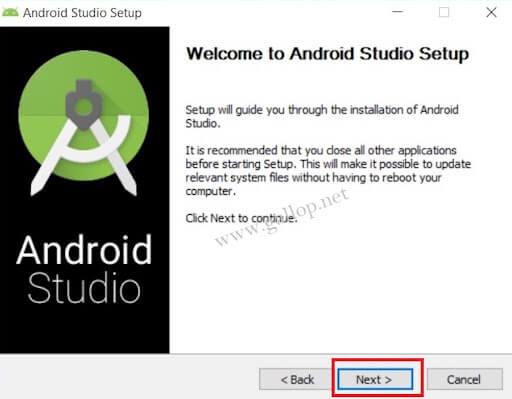
- Click Next.
- Keep the default settings and click Next.
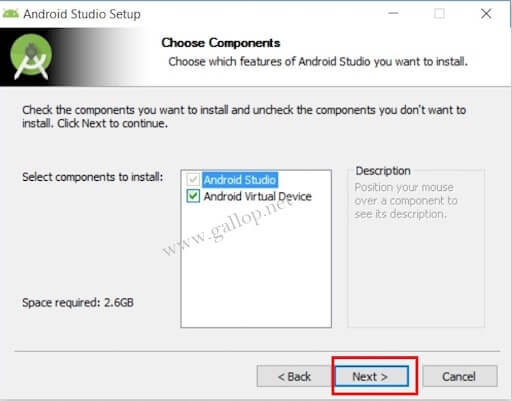
- Choose the configuration settings. We recommend you keep the default location and click Next.
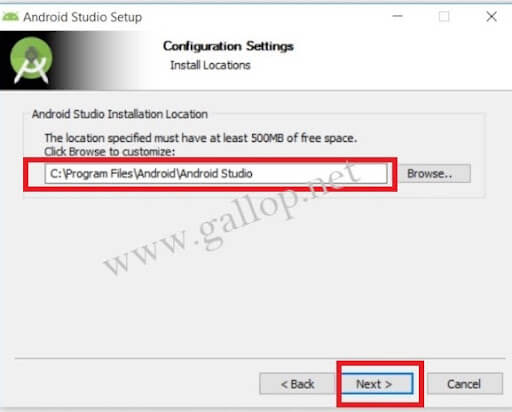
- Go ahead and continue the default settings and click Install.
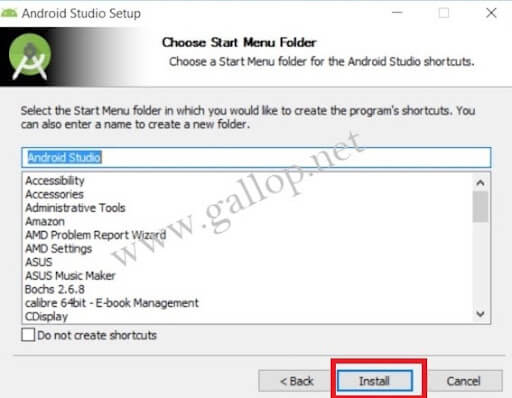
- The installation bar will appear in the next window. The process might be a bit longer. Wait till the process ends.
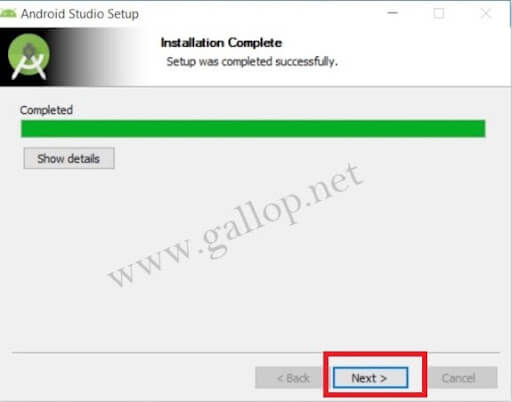
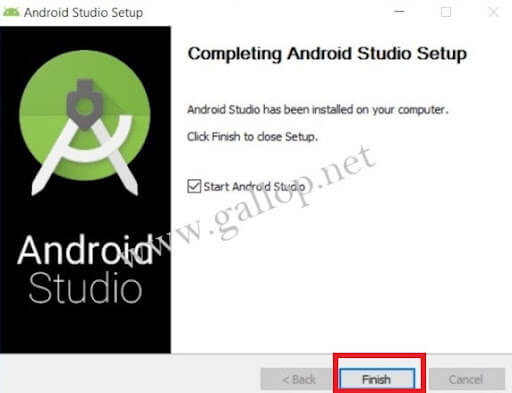
- Completing the Android Studio Setup window will appear. Click Finish.
- Next, the android studio will download some necessary SDK files by default. Don’t disturb the process. Just wait for the files to download completely.
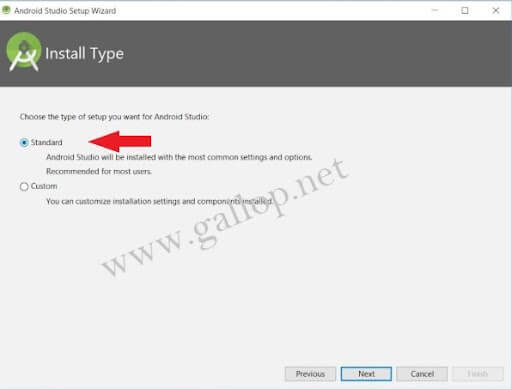
- Next, the android studio will ask you to choose the Install Type. Click Standard and then click next.
- After downloading all the components, the android studio will show you a welcome screen.

- On the welcome screen, click on Next.

- Tap on “Start a new Android Studio Project”.
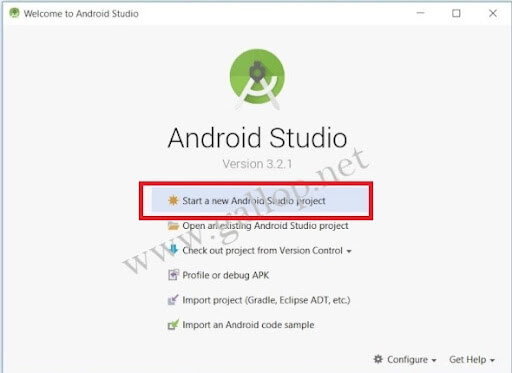
- In the Create Android Studio Project, name your project.

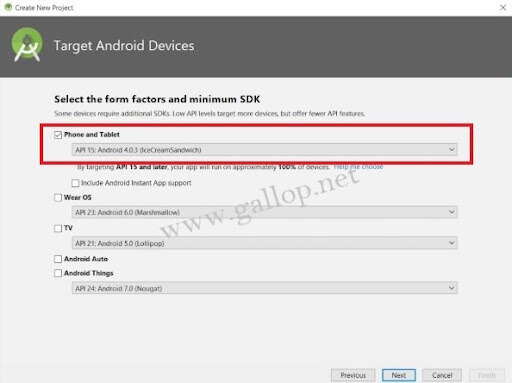
- Choose the Phones and Tablets option in the Target Android Devices window.
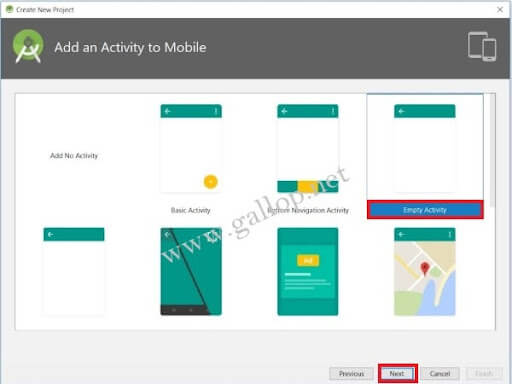
- In the “Add an Activity to Mobile window”, select Empty Activity and click Next.
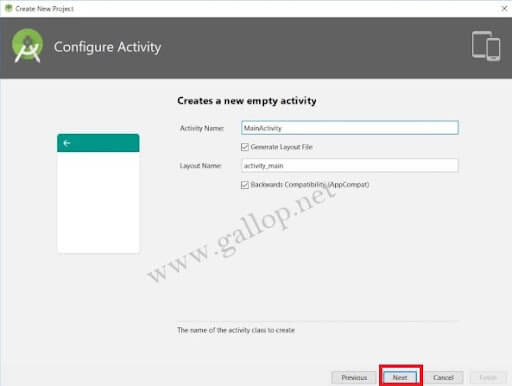
- Name the Empty Activity and click Finish.
Now, get ready to develop your first app. First, use your programming skills to develop your app.


